Showing posts with label Pursuit of Passion. Show all posts

Saturday, March 17, 2012

Write, write, write

It feels as if I have finally run out of things to say here!

School has been getting the better of me I swear! But it's also very exciting in that this year, I'm not only aiming high (as with previous years) but I'm pulling out all stops to actually achieve these goals. One of these goals is to write more and better and what better way to do that than to enrol in a course which forces you to read and write every week!

My Creative Writing tutor told the class one day that it is very important to write, write, write. Even if it's only for a few minutes a day, about something as mundane as the weather. And I think I'm going to try it! She suggests carrying a writing journal too, that you never know when you're going to come across an interesting character on the bus or see something that will go into your #AwesomeThings folder. I can testify that it's so true when it comes to finding random inspirations! You just never know when it's going to hit you!

So, here I am again! I'm building up a story for my creative writing workshop and I'm thinking that this blog will help me move it along. I'm so nervous about the workshop because this is when everyone reads your work and critiques your writing. My class had its first workshop just two days ago and I have to say, my classmates' got talent! Amazing writing and highly technical: Omniscient narrators and character developments and such!

2012 is about getting out of my comfort zone and doing things that will scare the heck out of me. I guess this workshop is one of them but it's going to be interesting because hopefully by the end of it, I will develop my skills as a writer and know where I stand in my writing! :)

I'll let you know if I come out alive.

Friday, July 15, 2011

Inspired by: Elisa Mazzone

Elisa Mazzone is an Australian illustrator whose works feature soft colours, feminine figures and embellishments.

My (sort-of) take on her artwork:


Pencil on paper; edited on Photoshop.

Thursday, July 14, 2011

Packing on the Winter weight


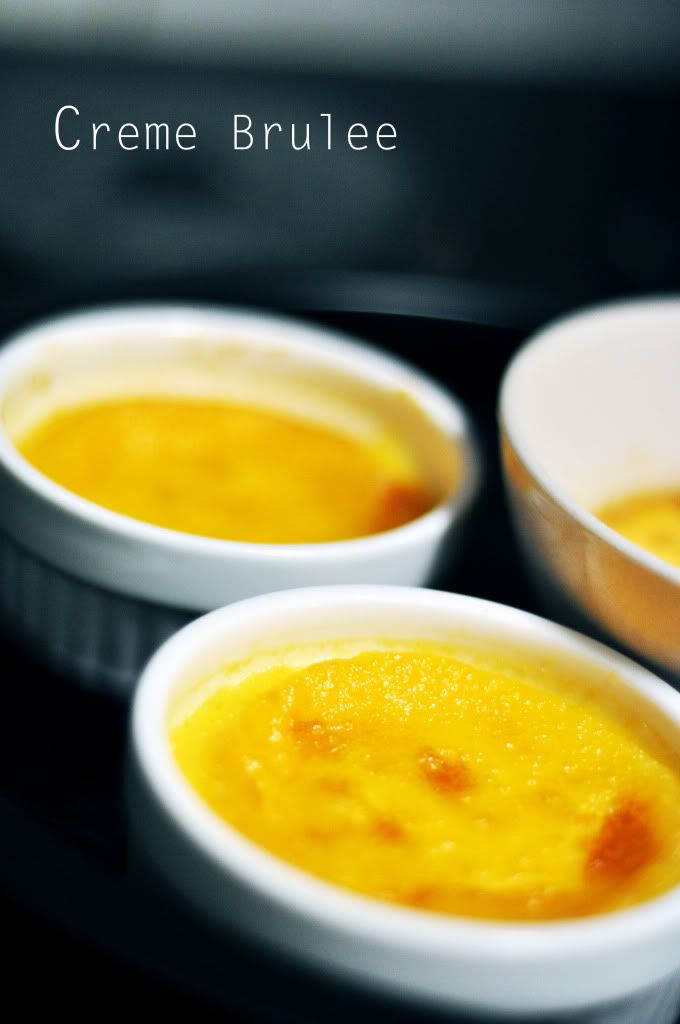
With leftover egg yolks from my macarons, I decided to go ahead and bake this very simple dessert - the unpretentious crème brûlée.

Awesome Thing #990: When you come home from work, eat dinner and you find that you're just in time to watch your favourite TV show.

I don't get very much free time these days because I've been working so much. On most days I work from the afternoon to about 10.30 at night. And that's probably why I now appreciate my free time a lot more than I used to! I find myself packing a lot in to the little hours I have left in my day doing the things that I love. These days, I bake a lot and watch TV during dinner (an indulgence I don't always get). My absolute favourite days are ones when I can come home in the evening and have a nice home-cooked dinner with not much to do after. :) Really, we take these little things for granted - until they become a rarity.

Saturday, July 9, 2011

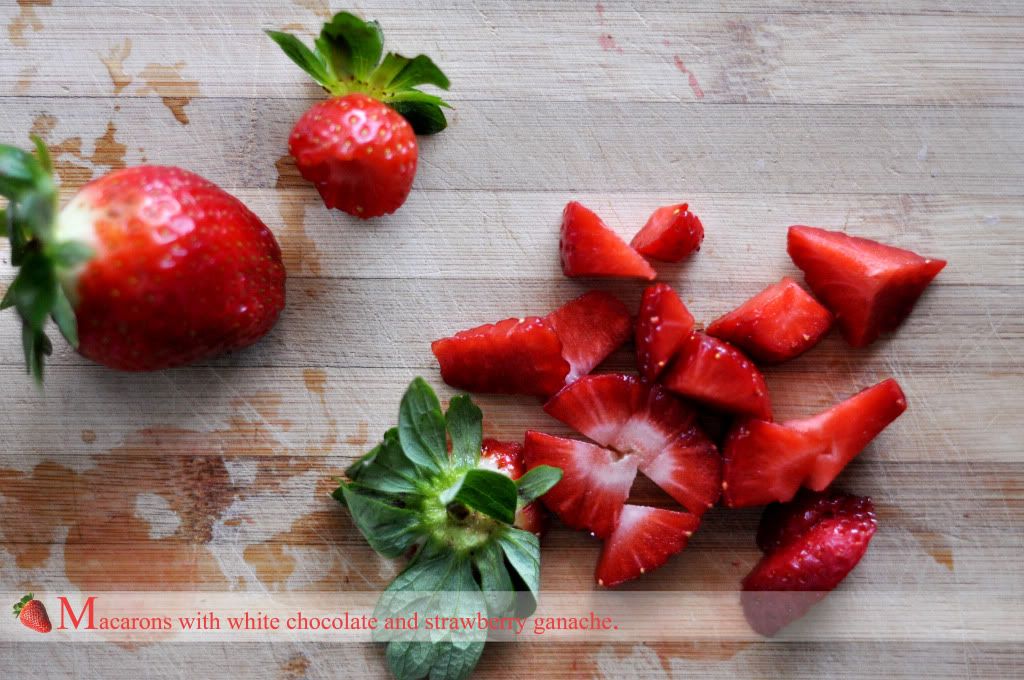
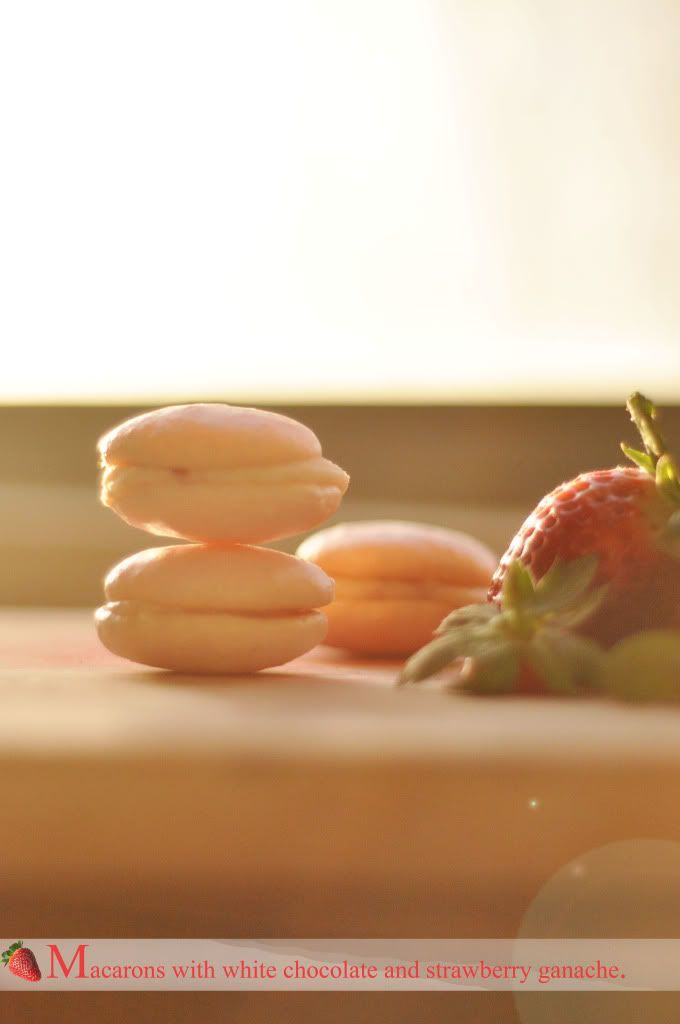
Macarons with White Chocolate and Strawberry Ganache

The title sounds very Master Chef-y doesn't it? I think it's because macarons (Even just its name) have this ability to fancy up just about anything. This sandwich of a sweet filling between delicate cookies not only looks like the prettiest little thing but is so packed with sweetness has got me craving for some! And today being my only day off from work in such a long time, I thought I'd spend it doing something productive.


I have had this packet of almond meal sitting in my pantry for the longest time. I've been wanting to make macarons but just reading recipes has put me off attempting to bake them. So many problems can arise in baking such an innocent looking thing - crumbly dome, no feet, dry meringue, over-beating egg whites, under-mixing ingredients, air pockets in the meringue and the list just goes on. For someone as amateur in the kitchen as me, it's no wonder that the technical side of this dessert scared me off. But my craving for something sweet has been so overpowering (Read: Period cravings) I just HAD to make some!

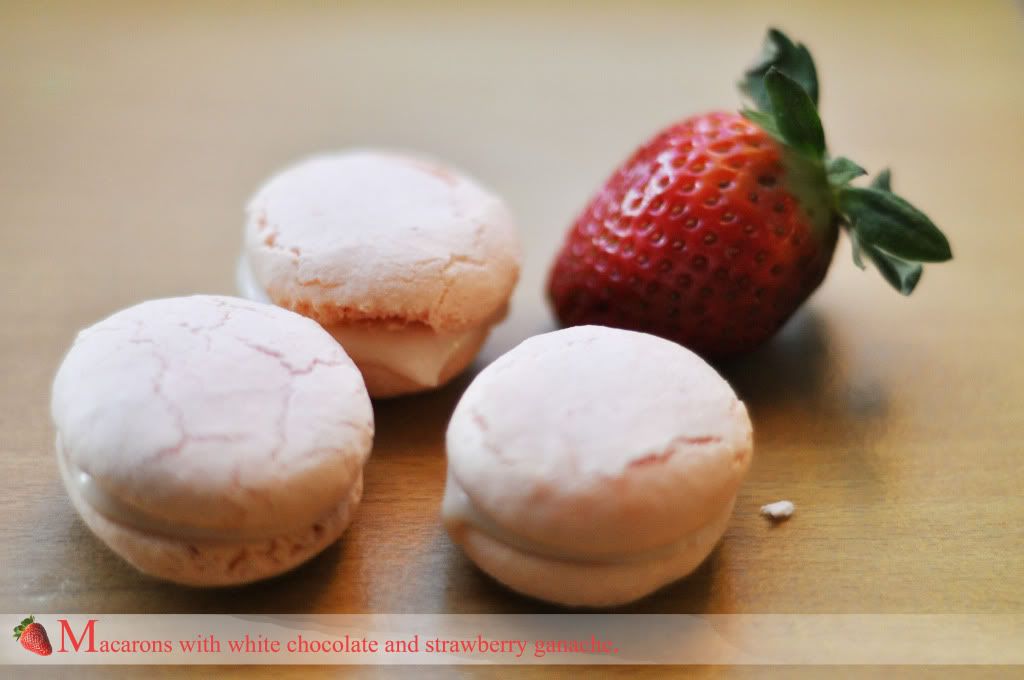
And this is how they turned out:


Recipe is from here!

As you can see, my macarons had cracked domes and no feet which is such a disappointment! :( The foot of the macaron is what makes them look so cute - like a fluttery skirt around the dainty cookie. I had to bake three batches before I could get them to look anywhere near perfect looking like a macaron!


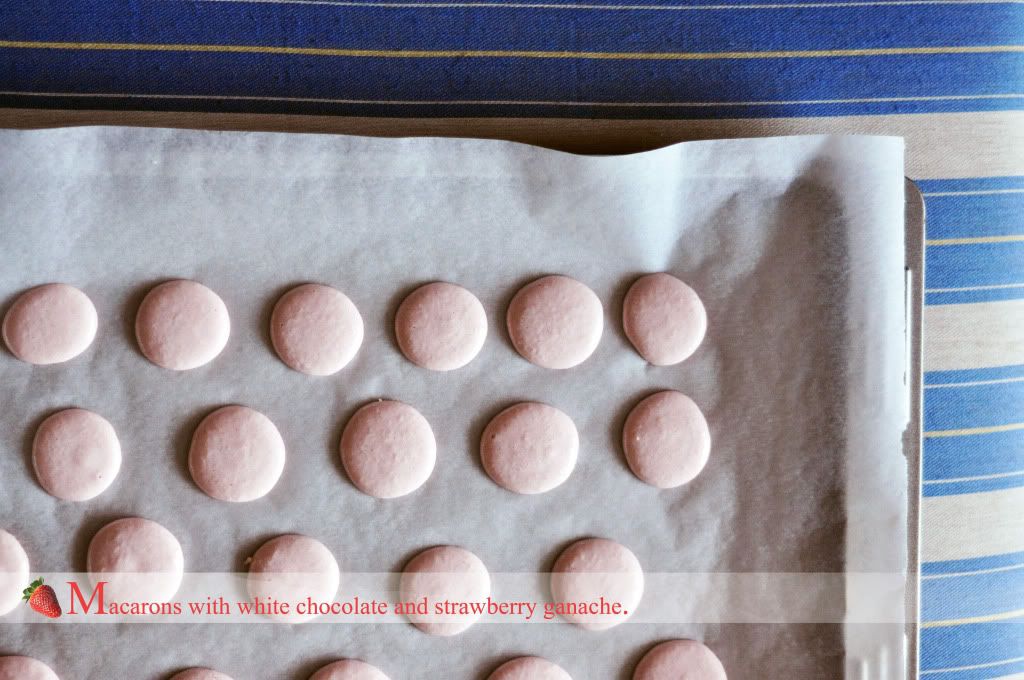
The first one (With the egg whites left to sit overnight on the kitchen countertop), my batter was too watery because I didn't beat the egg whites long enough and they spread like goo on my tray. But after letting them sit for about three hours I decided to bake them anyway. This batch was the most surprising because not only the shell was smooth but little feet formed around each dome! Unfortunately they were just too out of shape and too thin to put the ganache in between.

The second, I didn't want to leave the egg whites sitting for another whole day just so I can bake them again! I read here that it's not compulsory anyway so I just used the eggs right away. I also didn't leave this batter to dry out as long as my third and the domes didn't crack but they didn't have feet around them.

The third (Second photo) was possibly the worst batch in terms of looks. The shells of every macaron was cracked and still NO FEET. But they retained their shapes and were my most consistent ones that I decided to turn them into macarons anyway.


My verdict is that macarons take such a long time and it's a trial-and-error process that requires a lot of patience! But was it worth it? YES. Because they all taste SO GOOD. Even the boyfriend loved them and he's not much of a sweet tooth! This recipe that I followed made some very nice-tasting macarons which are not overly sweet (Like how macarons tend to be). The ganache was so yummy I could have scooped it in spoonfuls and ate it just like that! Overall, I'd definitely make them again if I have the time and it could possibly be as soon as my next day off. I would think that once I get the shells perfect, it would be such a sweet success! Literally.

Tuesday, July 5, 2011

Red Velvet Cupcakes

The boyfriend had two surprises for me after work two nights ago. One was coming to my workplace to walk me home; and two - ingredients for baking red velvet cupcakes! I have a feeling this was because he saw contestants on the MasterChef program bake them for one of their challenges but you know what, I'm not going complain about the lack of originality when I'm getting cupcakes to eat.

We started baking at about 12a.m. I know, so absurd. But it's never too late to bake a sweet treat, I think. Here are the pictures and recipe:


Ingredients:
2 1/2 cups plain flour, sifted
1 teaspoon baking powder
1 teaspoon salt
2 tablespoons unsweetened cocoa powder
60mL red food colouring
120g unsalted butter, at room temperature
1 teaspoon vanilla extract
1 cup buttermilk, at room temperature
1 teaspoon white vingear
1 teaspoon baking soda
Cream cheese icing:
450g cream cheese, softened
120g unsalted butter, softened
1teaspoon vanilla extract
2 1/2 cups icing sugar, sifted
Pinch of salt


Method:
1. Preheat oven to 180ºC.
2. Sift together flour, baking powder and salt into a medium bowl. Set aside.
3. In a small bowl, mix food colouring and cocoa powder to form thin, smooth paste. Set aside.
4. In a large bowl, using a hand mixer or stand mixer, beat butter and sugar together until light and fluffy.
5. Beat in eggs, one at a time, then beat in vanilla and the red cocoa paste, scraping down bowl frequently with a spatula. Add one third of the flour mixture into batter, beat well. Next add half of the buttermilk and beat.
6. Beat in another third of flour mixture, then second half of the buttermilk. End with the last third of the flour mixture, beat until well combined.
7. In a small bowl, mix vinegar and baking soda. Add it to the cake batter and stir well to combine.
8. Working quickly, divide batter evenly between cake pans (Or muffin cups) and bake at 180ºC for 25-30 minutes, or until skewer stick comes out clean.
9. Cool cupcakes before icing.
10. For the icing, blend together cream cheese and butter until smooth with electric mixer. Add in icing sugar, salt and vanilla extract and beat until light and fluffy.


I decided to be a bit stingy on the icing because I usually dislike any kind of icing on my cake. But this recipe was so good! Immediately regretted not making more for the cupcakes! The cupcakes turned out quite well, the entire batch is nearly gone now. This recipe is so simple even an amateur baker like me can do it (Granted I had help from the boy)! The only thing that I was a bit iffy about was that the recipe needed SO MUCH colouring, it was almost scary. But I'll let loose this time, only because they were yummy.

Saturday, June 11, 2011

And this is the path that I chose

"Nobody tells this to people who are beginners, I wish someone told me. All of us who do creative work, we get into it because we have good taste. But there is this gap. For the first couple years you make stuff, it's just not that good. It's trying to be good, it has potential, but it's not. But your taste, the thing that got you into the game, is still killer. And your taste is why your work disappoints you. A lot of people never get past this phase, they quit. Most people I know who do interesting, creative work went through years of this. We know our work doesn't have this special thing that we want it to have. We all go through this. And if you are just starting out or you are still in this phase, you gotta know its normal and the most important thing you can do is do a lot of work. Put yourself on a deadline so that every week you will finish one story. It is only by going through a volume of work that you will close that gap, and your work will be as good as your ambitions. And I took longer to figure out how to do this than anyone I've ever met. It's gonna take awhile. It's normal to take awhile. You've just gotta fight your way through".

Ira Glass

Tuesday, May 24, 2011

When Life Hands You Lemons, You Make Lemon Meringue Pie!


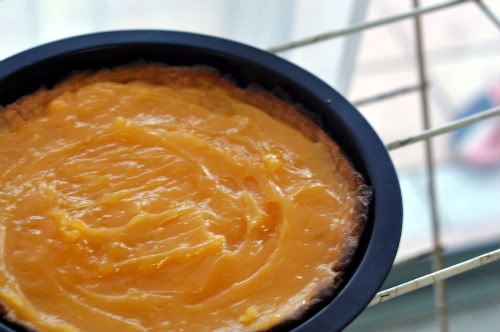
Tuesdays are my new favourite days because I pretty much have the whole day to myself. Tuesday is the day I play Housewife: Do the laundry, clean the room, cook dinner while Kai goes off to uni until 6. Today, I attempted to bake a Lemon Meringue Pie just because I have been craving for the tangy/sweet goodness that comes with the tart. It took me about four hours to make but it was so worth it!

This is the recipe that I used taken from Taste.com.au! This recipe is fairly simple albeit quite time-consuming. Although, I suppose lemon meringues usually take this long anyway.


Method:
1. Sift flour and icing sugar. Use fingertips to rub butter into flour mixture until it resembles breadcrumbs.
2. Add water and stir until dough forms. Use hands to bring dough together. Turn onto a sheet of baking paper and roll out to form a 5mm thick crust. Line the crust in a 23cm pie dish. Trim excess pastry and cover with baking sheet. Place into refrigerator for 30 minutes to set.
3. Preheat oven to 180 degrees. Fill lined dish with pastry weights or rice. Bake in oven for 15 minutes. Remove weights and bake further for 15-20 minutes or until crisp and golden. Set to cool.


4. Lemon filling: Combine cornflour + water + lemon juice + half amount of sugar in a saucepan. Use a hand whisk to stir over medium heat for 4 minutes or until mixture boils and thickens. Continue to cook, stirring constantly for further 1 minute. Remove from heat. Whisk in butter and egg yolks. Transfer to a bowl and cover with plastic wrap. Place in refrigerator for 3 hours.
5. Preheat oven to 190 degrees. Use electric beater and beat egg whites in a clean, dry bowl until soft peaks form. Gradually add remaining sugar, one teaspoon at a time until mixture is thick and glossy.
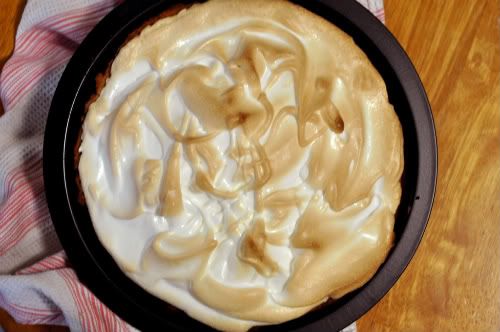
6. Spread filling over the base of the pastry case. Spoon over the meringue mixture and spread to the edge of the pastry. Use the back of spoon to create peaks. Bake in oven for 5 minutes or until meringue peaks are light brown. Set aside to cool completely.


My pie is just cooling down at the moment but this is what the end product looks like:


So gorgeous! Can't wait to dip my fork in and take a bite. I'll tell you how it turns out. :)

Edit:// I loved it! The custard is way too sweet though. Will probably only use about 1/2 - 3/4cup of sugar for the custard. And I think the crust is not enough! There should be MOAR. Just a little note for anyone wanting to try the recipe. :)